How to Create a Managed Brush Pile
When nature’s pruner gives you branches, you can make bee habitat.
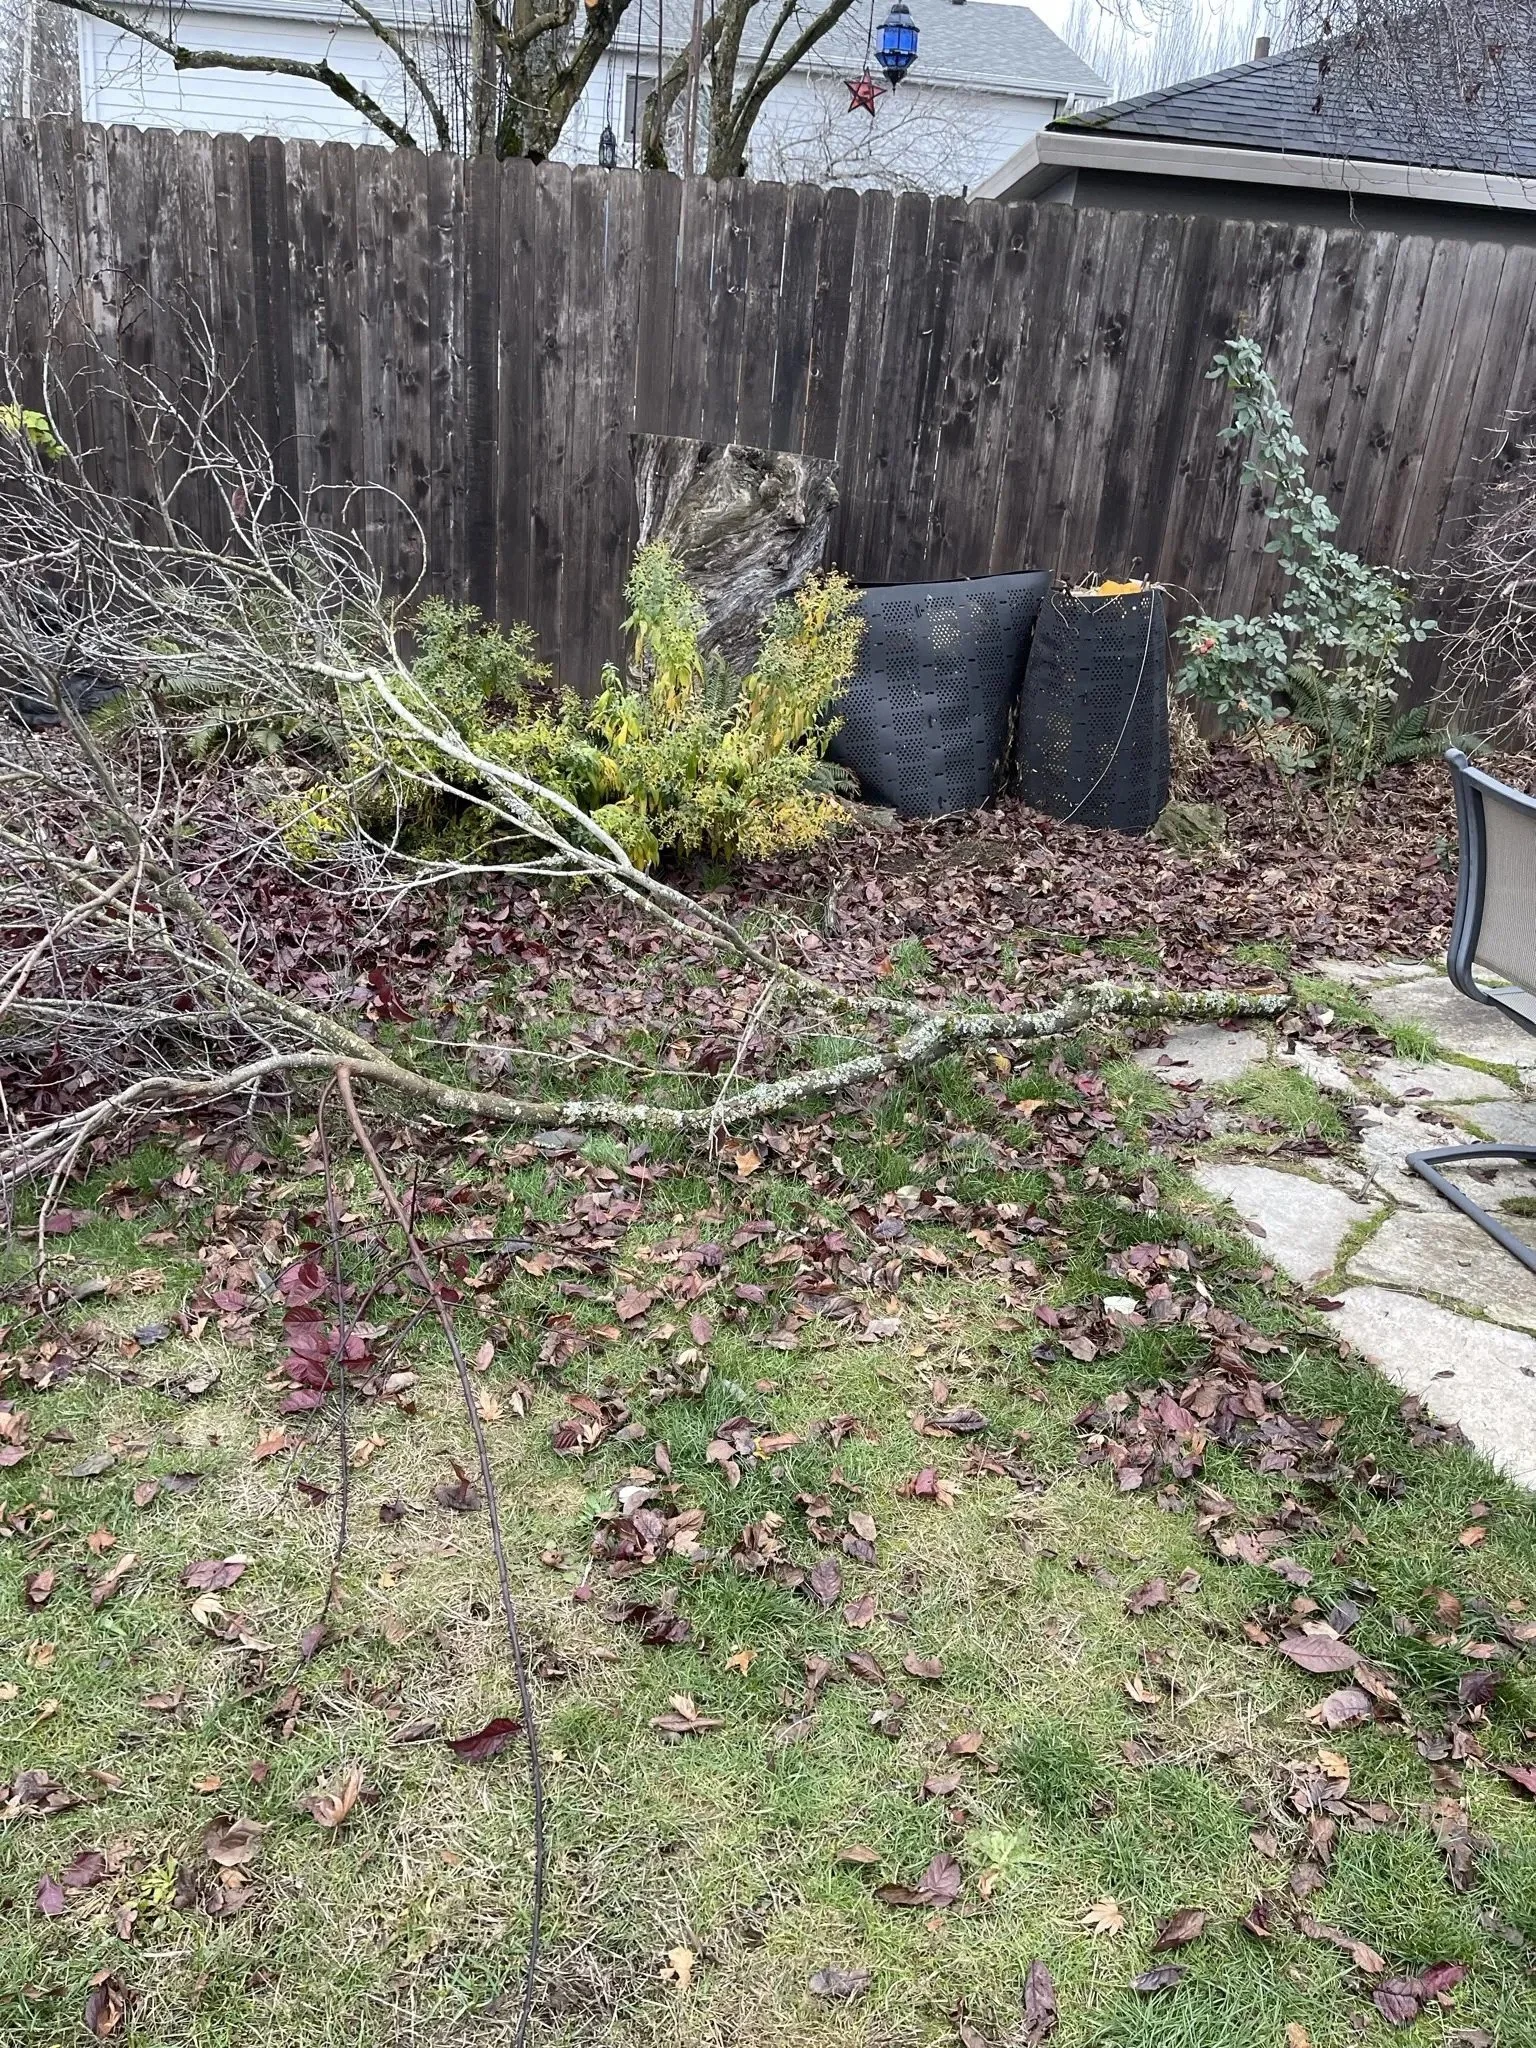


Happy new year! Now that it’s officially winter and we just had a super cold, snowy, icy, windy end to fall it’s time to talk about what to do with all those downed branches. When nature’s pruner gives you branches, you can make bee habitat. Think of all that material as a gift that doesn’t have to fill up your yard debris bin. Downed branches happen in our yard and neighborhood a lot especially this time of year. An appropriately managed brush pile in any yard will create useful habitat that helps bird and insect populations without attracting things like mice or rats. Let’s talk through the best way to approach how to do this. With a little planning, the end result will be an addition of some wonderful habitat and something that can add some seasonal interest to any garden or natural space. This is also a really family friendly activity and kids can help make these piles too with some adult oversight.
Picking a spot and site preparation
A managed brush pile can go basically anywhere and I always encourage people to use them as fillers in spaces that don’t have much other use. They can be in the shade or in the sun but if you want bees to nest in it, you’ll want to make sure it gets sun. Birds and other insects will use it basically anywhere and it’s always possible that you could end up with a bumble bee nesting site. As a side note, bumble bee nests are notoriously hard to artificially create. They also need serious cleaning after use to help prevent disease issues. In the wild, bumble bees like to nest in former rodent nests and most people don’t want to encourage rats in their yards and public spaces.
You will want to pick a spot that’s relatively level to construct your managed brush pile because you’re going to want to start it up higher than ground surface using whatever materials your have around like brick pieces, rocks, or broken terra cotta pots. Stay away from materials like plastic or treated lumber. You can use larger logs if your downed limbs make them available to crate a flat base that allows of the pile to have a few inches of clearance of the ground surface. I’ve never removed sod to place one of these piles but it is a good idea to remove it if you want to discourage mice. Starting in a place that’s relatively weed and grass free already seems to work well. Pile placement should consider pedestrian or vehicular traffic – too much of either could mean the pile gets no use. Boarders or underutilized understory areas work well. Stay away from utility poles, utility meters, dryer vents, and anyplace where you might want to have an open flame. It does get dry here in the summer and piles also get dry. You’ll want to consider wetting it in extreme heat conditions.
With a little planning, the end result will be an addition of some wonderful habitat and something that can add some seasonal interest to any garden or natural space.
Power tools or no power tools
Branches need to be broken down a bit. You’ll want to take a look at what you have available vs. the spot you have to place the pile. If your pile is going to be 4 feet long and 2 feet wide you will want to cut your wood lengths in those approximate sizes. It will help when you go to construct the pile. You may also need power tools or some beefy hand tools depending on how large your materials are. You can make a managed brush pile out of any diameter wood you’ll just want to put a lot of the larger wood at the base and center of the pile. I would recommend using whatever you have available to do the job keeping in mind that if the branches are small enough you can break them by hand and they don’t have to be exact. It’s important to remember is that the large branch you can barely move prior to breaking it down will not look nearly as large placed in a managed pile. You’ll also want to think about the space you have available for the pile as your cut lengths will need to match the space you have to fill. You’re going to want to build the bottom of the pile much like you would a log-cabin fire (or crisscross fire – Google it) on top of the brick or rocks you used to prepare the site.
Construct the brush pile
Start with your base material (bricks, rocks, pots) and build an approximate box shape like you would build the first layer of a log cabin. You’ll want to make sure it stays a few inches off the ground – 2 to 8 inches is best. More is better. Then you build up. If your pile isn’t approximately square you’ll find that placing most of the brush the same orientation makes for a nice relatively tight pile but still something that has lots of good air space. If you have larger diameter wood you could consider drilling holes in the wood as it will help it break down and cavity nesting bees may utilize the spaces. You can stick smaller sticks in the sides and add them to the top. Over time the pile will break down and adding more on top will be beneficial.
And that’s it. It’s pretty easy and kids love it. Birds and insects love it. And you’re not getting rid of something that can easily be reused in your yard to provide benefit. Providing native insect and bird habitat in our yards and public spaces is one step in the right direction of rewilding our environment and giving pollinators those islands (or better yet multiple yards and public spaces connected with a common purpose) of habitat.